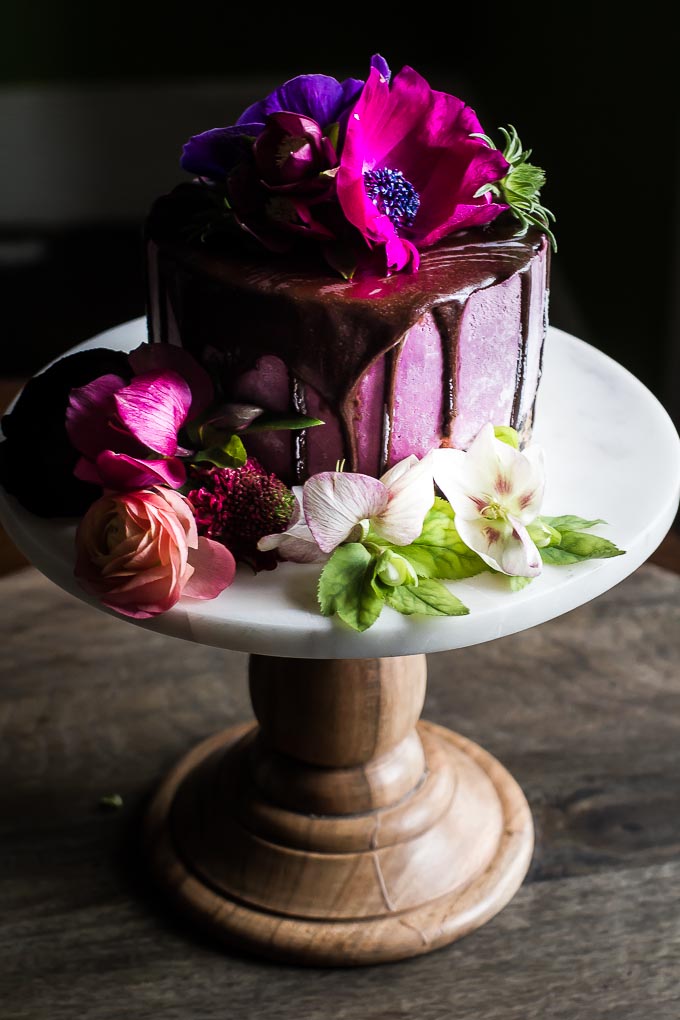
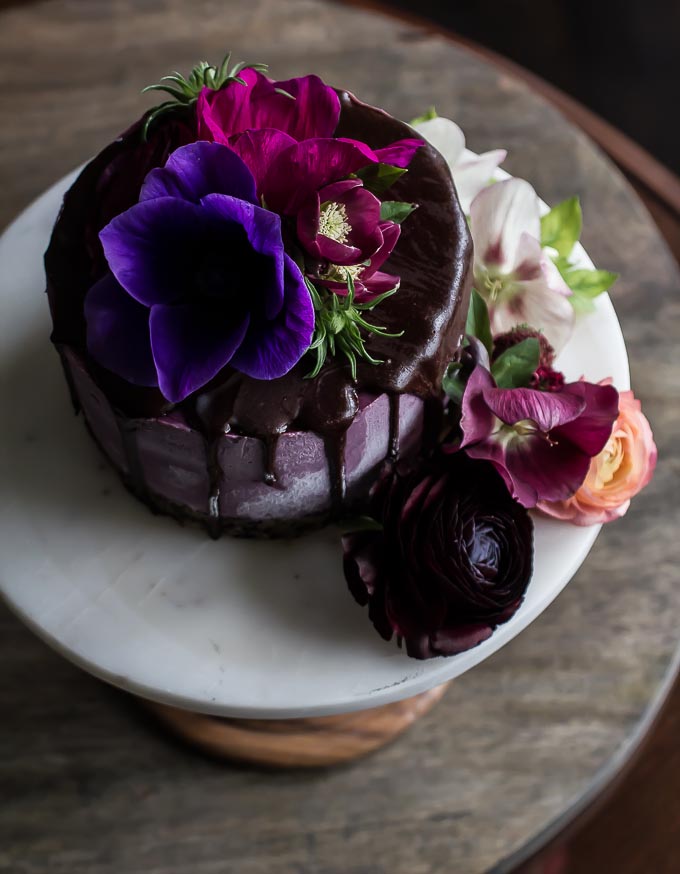
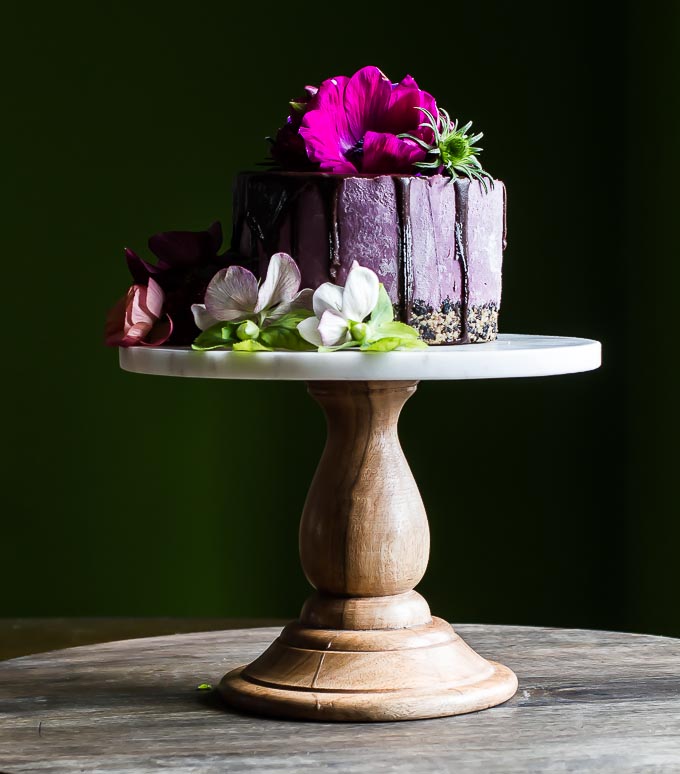
Even though cherries aren’t quuuuiiiite in season yet, they are still perfectly delicious, especially when paired with dark rich chocolate. This cherry chocolate vegan cheesecake has a fluffy, creamy texture, and a delicious, mildly sweet walnut and dried cherry crust. The chocolate glaze takes it over the top. You can enjoy this with both fresh and frozen cherries!
Having a delicious and healthy dessert on hand when you are transitioning to a more plant based diet is so important. Cravings for sweets can be the undoing of plans for a healthier diet! Even making one dessert a week like this to have on hand will give you the assurance that when your sweet tooth fires up, you are ready. And it freezes perfectly in case you have a lot left over and don’t want it to go bad.
This style of dessert is very adaptable to other fruits (try raspberry, strawberry or apple) and can also be made with macadamia nuts in the filling instead of cashews. The crust can also be made with dried figs or dates, and pecans are delicious in the crust as well.
You really do need a spring form pan to have the best results, but if you’re using a regular cake pan, be sure to line the bottom of the the pan with parchment paper so the dessert releases well! It’s also a great idea to take a kitchen towel soaked in hot water and wrap it around the cake pan prior to releasing it-it melts the sides just a little and lets the cake slide out easier.
- 1½ cups raw cashews (soaked for 2 hours)
- ½ cup coconut oil, melted
- ½ cup water
- ½ cup honey or maple syrup
- 2 Tablespoons lecithin granules
- 1 teaspoon salt
- 2 cups cherries, fresh or frozen
- 2 Tablespoons lemon juice
- 1½ cups walnuts
- 1½ cups dried cherries
- 1 teaspoon salt
- 1 teaspoon cinnamon
- ½ cup maple syrup or honey
- ½ cup coconut oil, melted
- ¼ cup chocolate powder
- warm water as needed
- Place the walnuts in a food processor and pulse until well nuts are broken up and crumbly. Add the dried cherries, salt and cinnamon and pulse some more until the cherries are broken up and well incorporated into the mix. It should stick together when you compress the mixture into your hand.
- Press the crust mixture into a 8"-9" spring form pan* and press down firmly to make sure the crust if firmly in place. Set aside until ready to add the filling.
- *I used a 6" pan for the photograph, but the recipe makes a 8"-9" cake perfectly, which serves 12-16.
- Put all the ingredients in a blender and blend until smooth. Pour into the prepared crust.
- Refrigerate for 48 hours until cheesecake is set up.
- Whisk all the ingredients together in a bowl, adding water as needed to make it easy to pour.
- Drizzle over the cheesecake after it has set up. Place in the refrigerator again to allow the sauce to set up again.
- NOTE: This cake freezes nicely!
 0
0


Leave a Reply